QO-100 Geostationary Satellite (OSCAR-100) /P (Portable Setup) Hill Head IO90jt

For sometime now I have wanted to take the QO-100 setup portable to activate some different squares, not because they haven’t been activated before (I believe all squares to 4 digits have been activated in the UK) but because I love /P Portable operations / activations. Getting out in Nature in all seasons to play Radio is very enjoyable and whether its an “activation” or just a good old “Ham Radio Social” you cant beat it.
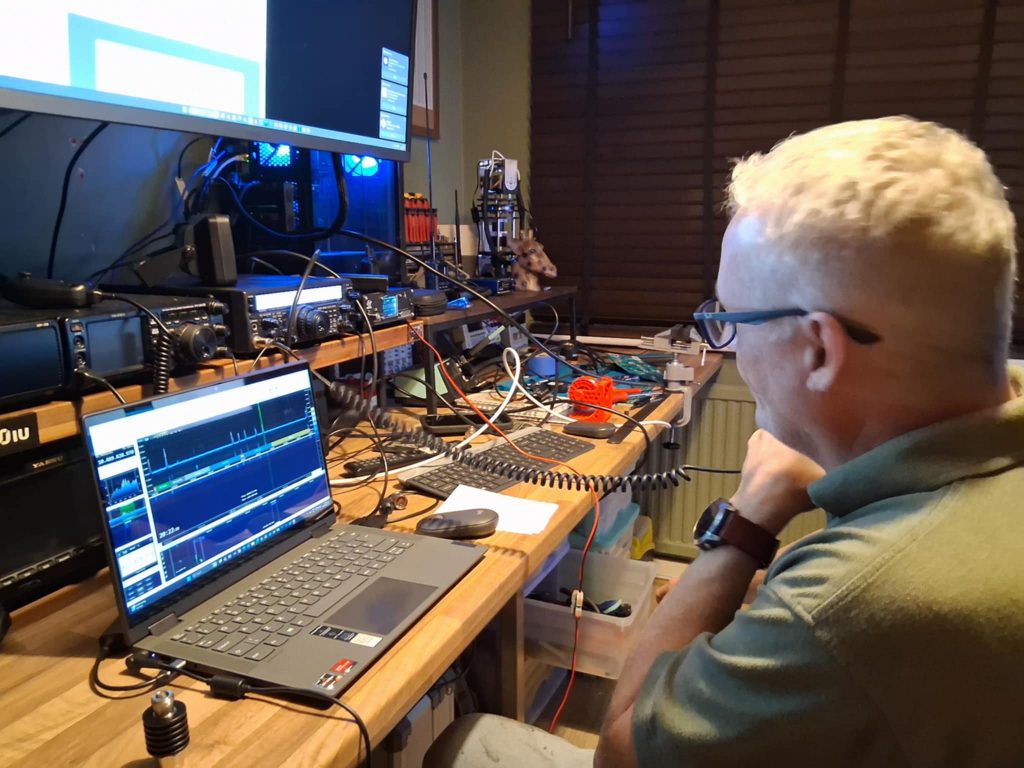
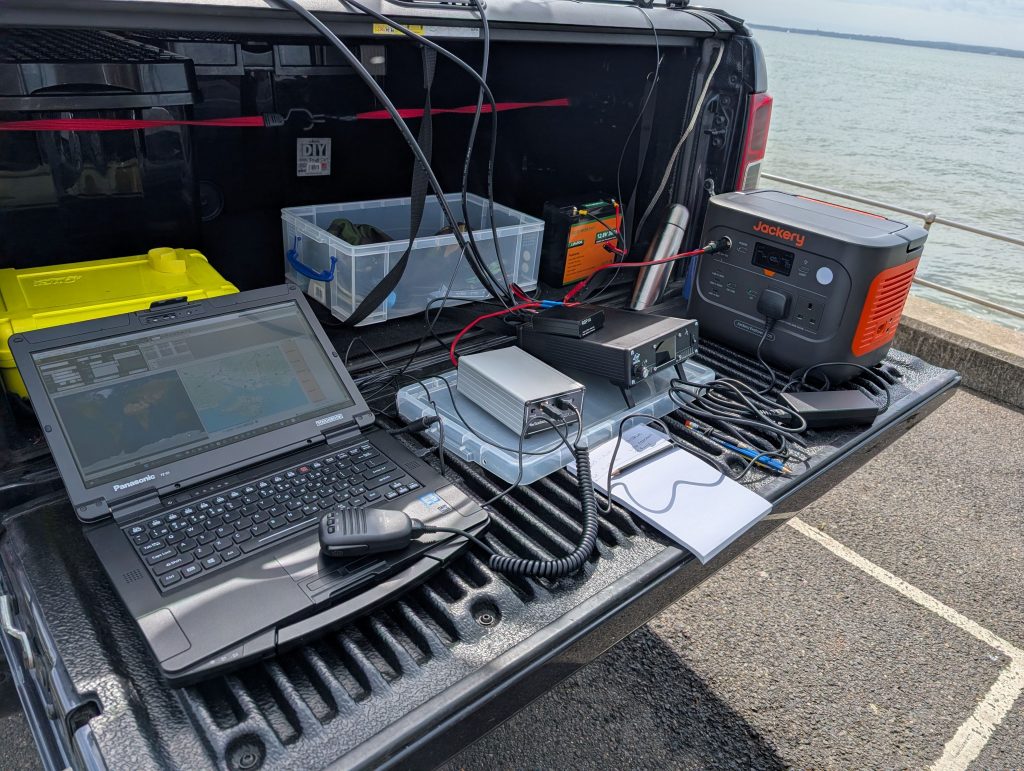
Last year I put together a QO-100 setup in the shack . Since then I have swapped out the Yaesu FT991A for a FlexRadio Systems Flex-1500 Software Defined Radio which is controlled with PowerSDR.

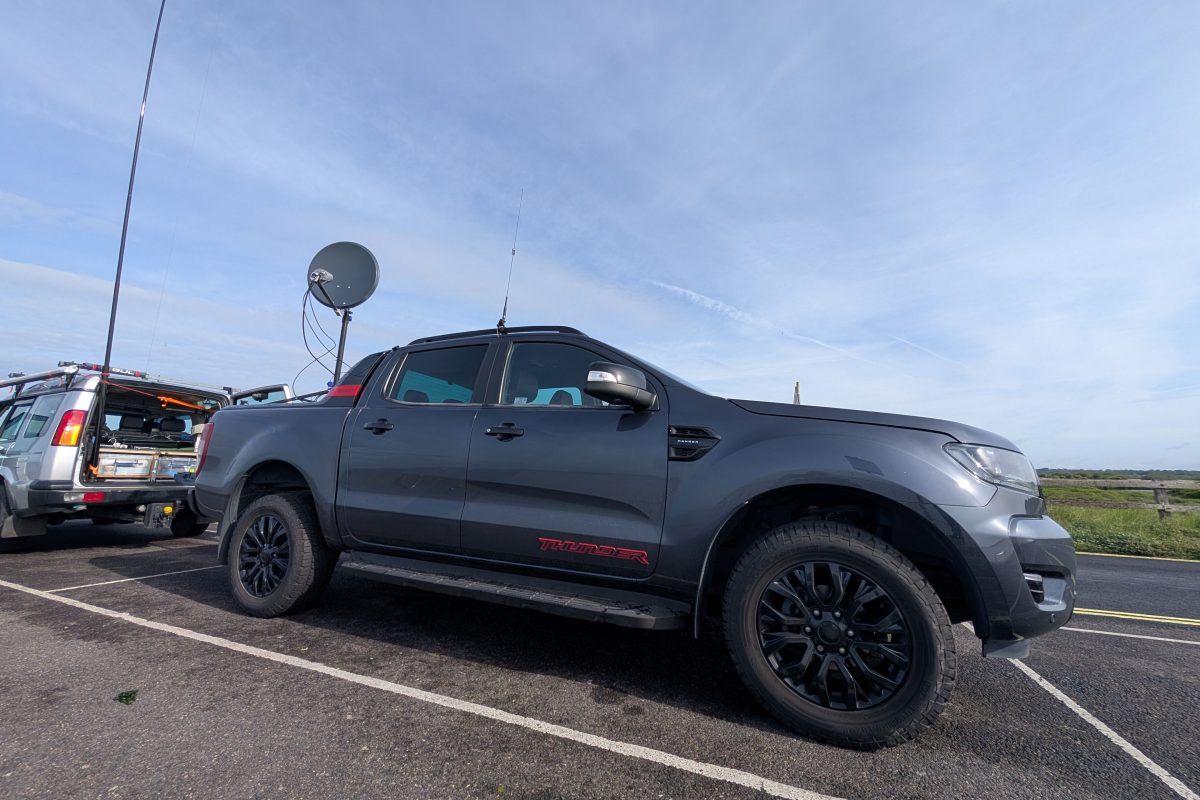
To enable me to take this setup portable I needed a Laptop another Offset Dish, LNB, and Helix Antenna. As this was for portable use I decided to go with a smaller 60cm offset dish which I mounted on an old bicycle stand tripod, along with this I purchased another DX Patrol LNB and Helix Antenna. As with the shack setup I fed the LNB with some good quality 75 Ohm cables and Ultraflex 10 for the helix feed, all cables were around 5 metres in length.

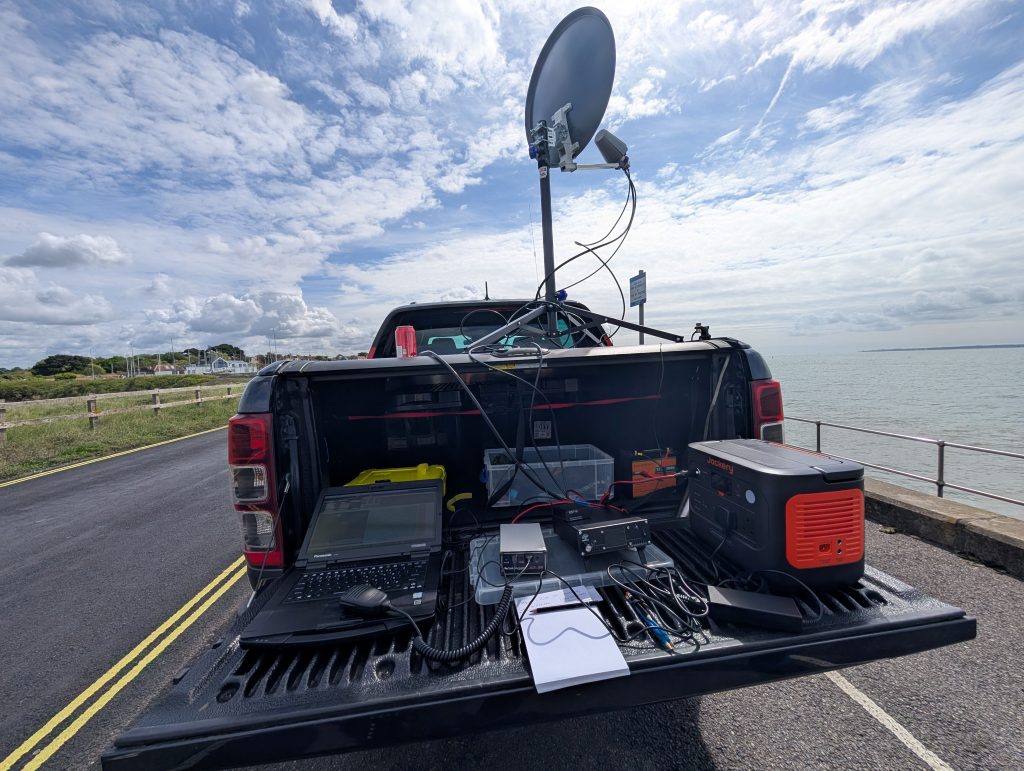
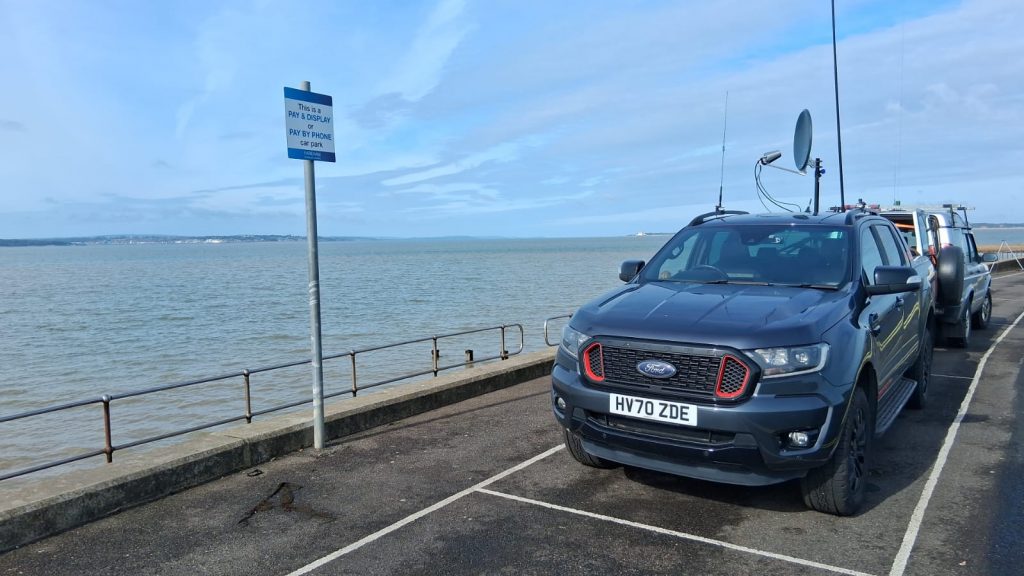
The initial setup was on the drive just to prove the everything worked and then a couple of days later I met up with fellow Ham Steve M9SPC at Hill Head on the Meon Shore. It was a warm calm morning by the sea and Steve had a HF station on the go so I proceeded to setup the QO-100 station. As per usual I set the kit up on the tailgate of the truck. I had a couple of different things that I wanted to try with regards to powering the kit, the first was the good old LiPo 30 Ah battery that I use for /P operations and secondly a Jackery Explorer 1000 Power Station.
I created a split power lead to connect both the Flex and the Ground Station 2 to the power source from one power pole connection. The battery of course worked as expected and would have had no issues with powering the two bits of kit for hours but I was keen to try the Jackery which would power not only the Flex and the ground station but also the laptop over longer periods. I want to see if there was any QRM created by the Jackery to which there was none.
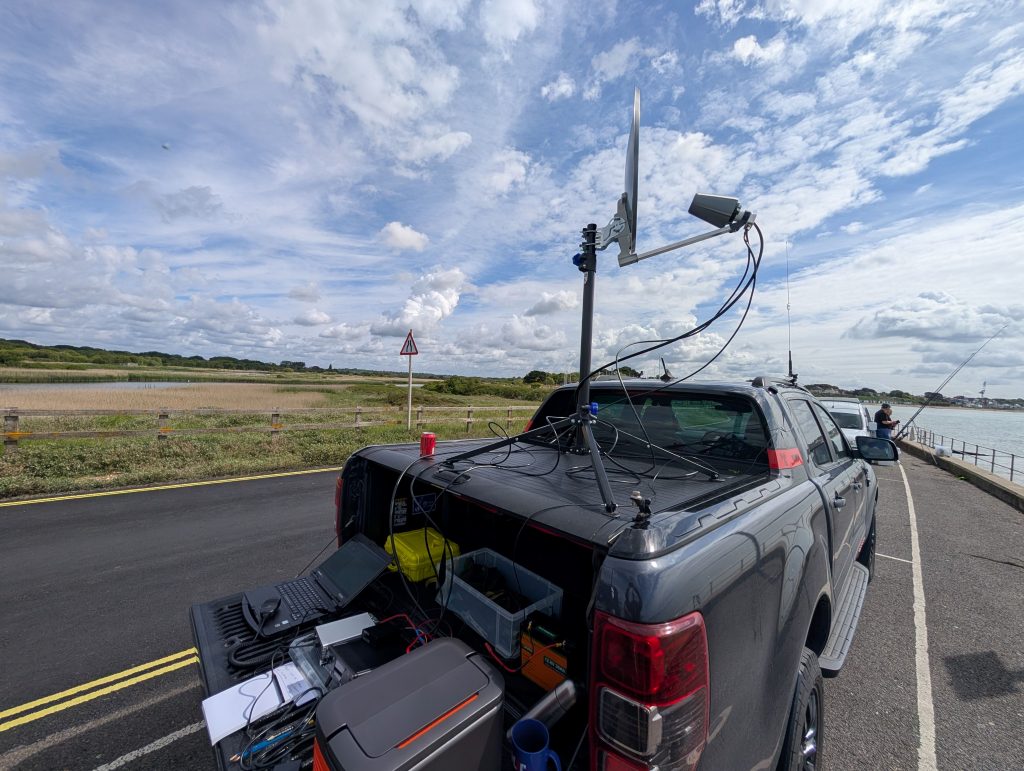
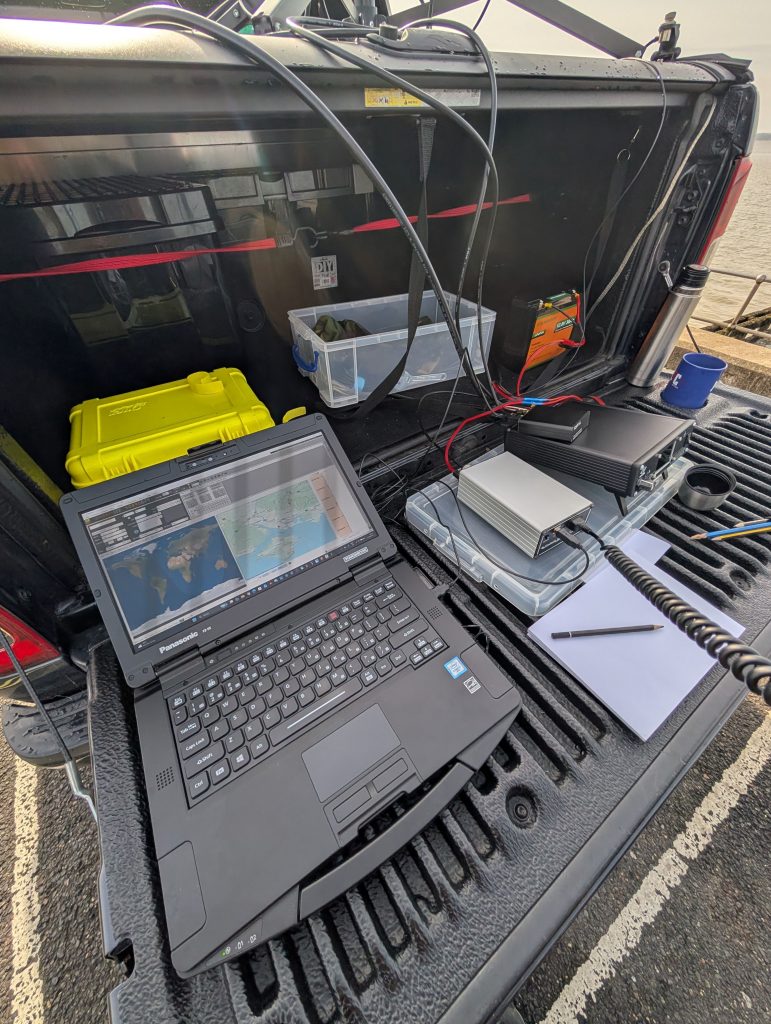
Prior to any QSO’s I had to align the dish with the satellite so I mounted the dish on the tripod and stood this on the bed cover of the truck. Using and app called DishPointer I aligned the dish in the general direction of the satellite. Next the fine adjustments to the Azimuth and Elevation were made, for this I selected one of the beacons on the satellite and monitored this on the waterfall until the max SNR was achieved.
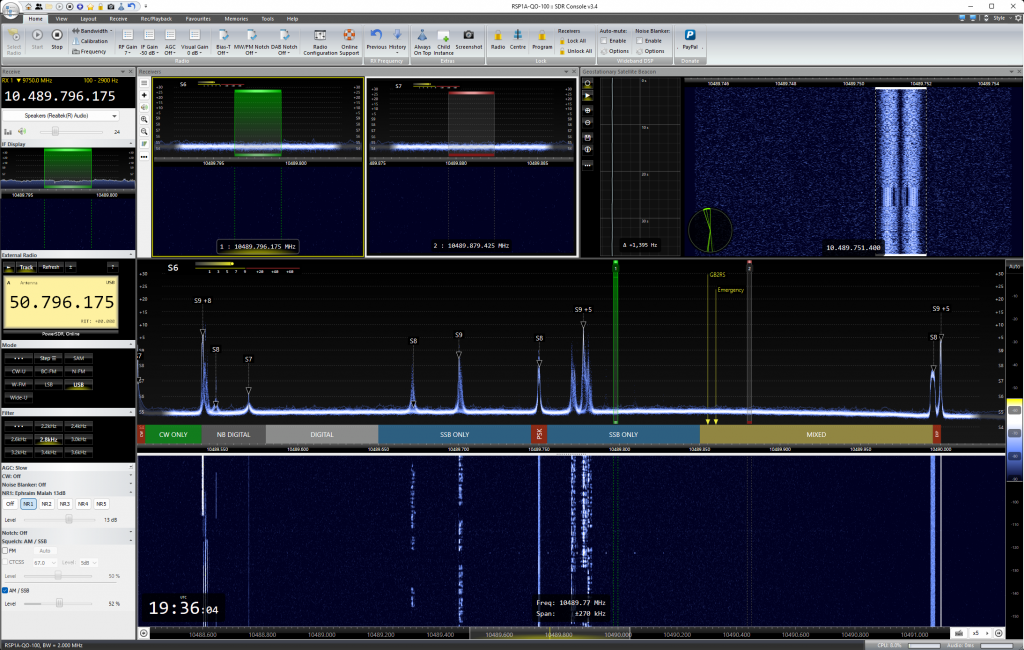
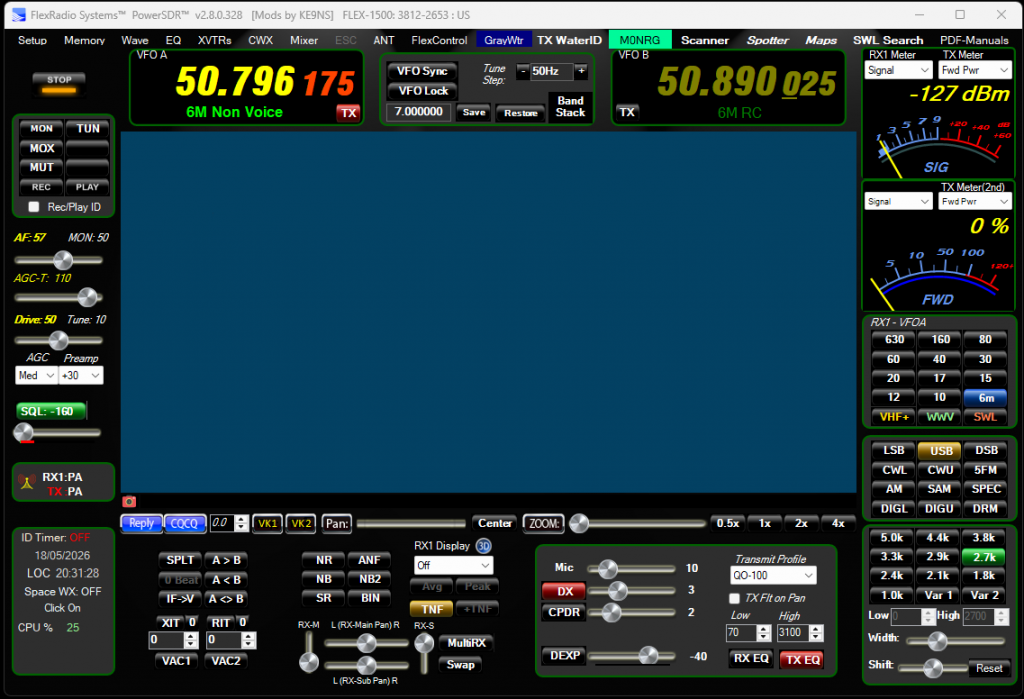
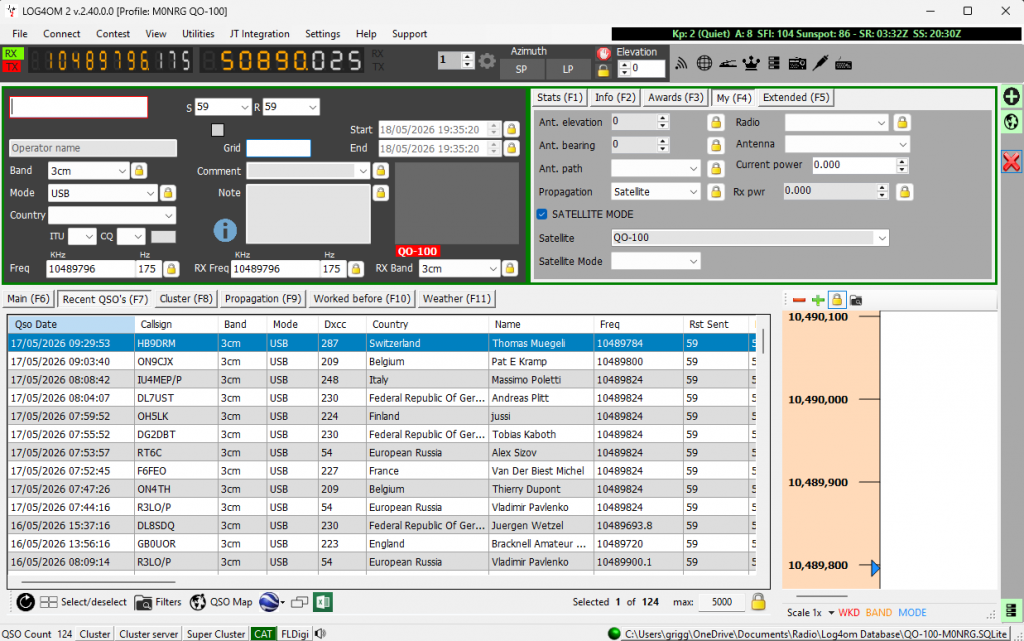
A cup of Coffee later and I was ready to put out some DX calls. For general radio logging I normally use Station Master Pro but for QO-100 operations I have found that Log4OM with its QO-100 DX Club integration and satellite settings works really well and has thus become my logging software of choice when it comes to working the satellite both in the shack and portable.

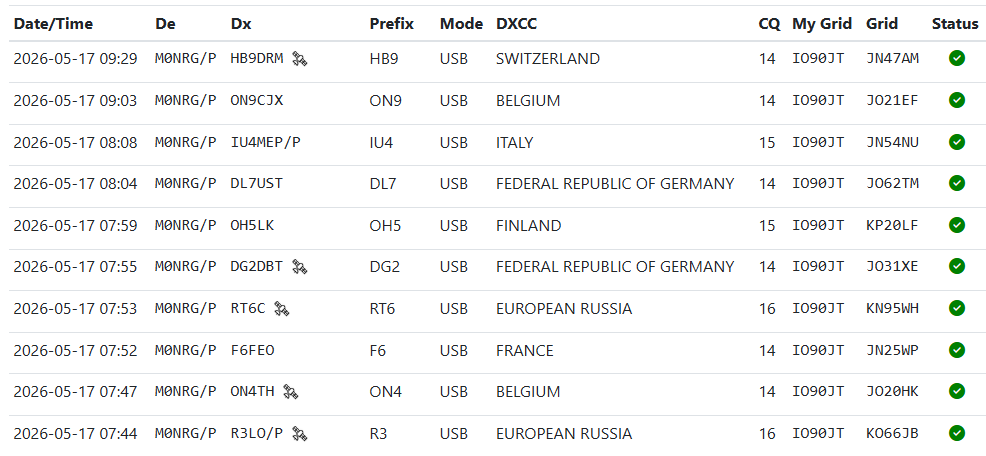
All in all a good test of the setup with 10 in the Log.

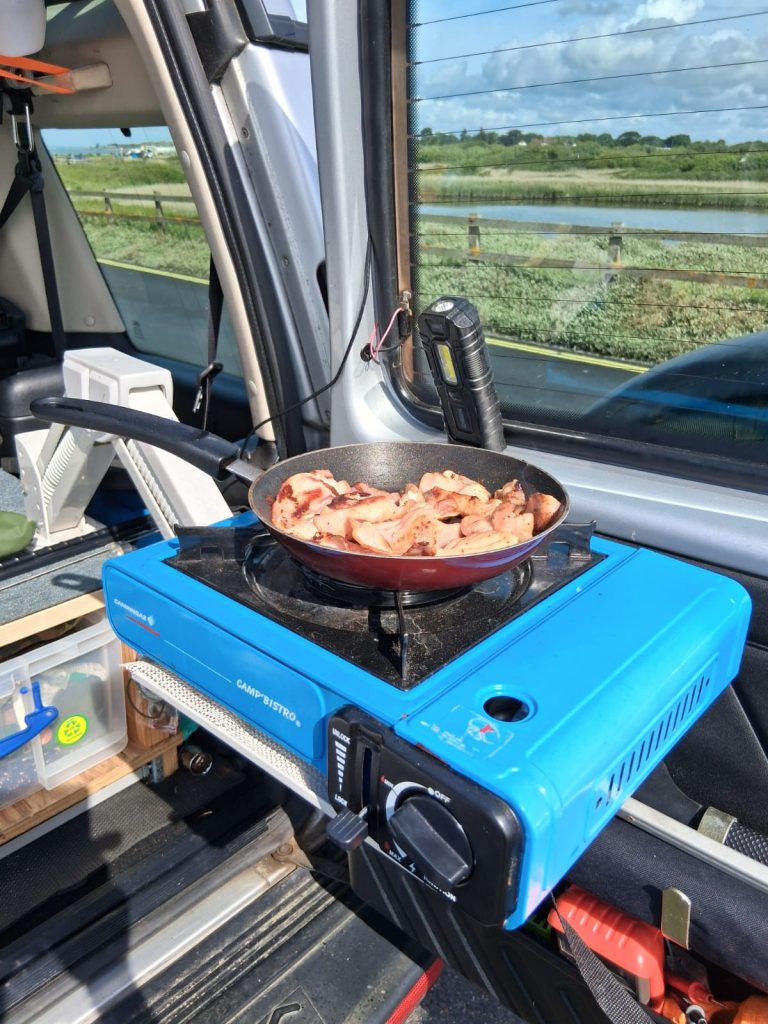
All this topped off with a Bacon Roll (Thanks Steve), sunshine, outdoors and Radio….
QO-100 Geostationary Satellite (OSCAR-100)

On a recent visit to Bletchley Park , after the obligatory visit to the RSGB National Radio Centre my interest was peaked by the QO-100 station setup in the corner of the GB3RS shack. I have recently been dabbling with the LEO satellites so was interested to learn about the only Geostationary Satellite available to Amateur Radio Operators.

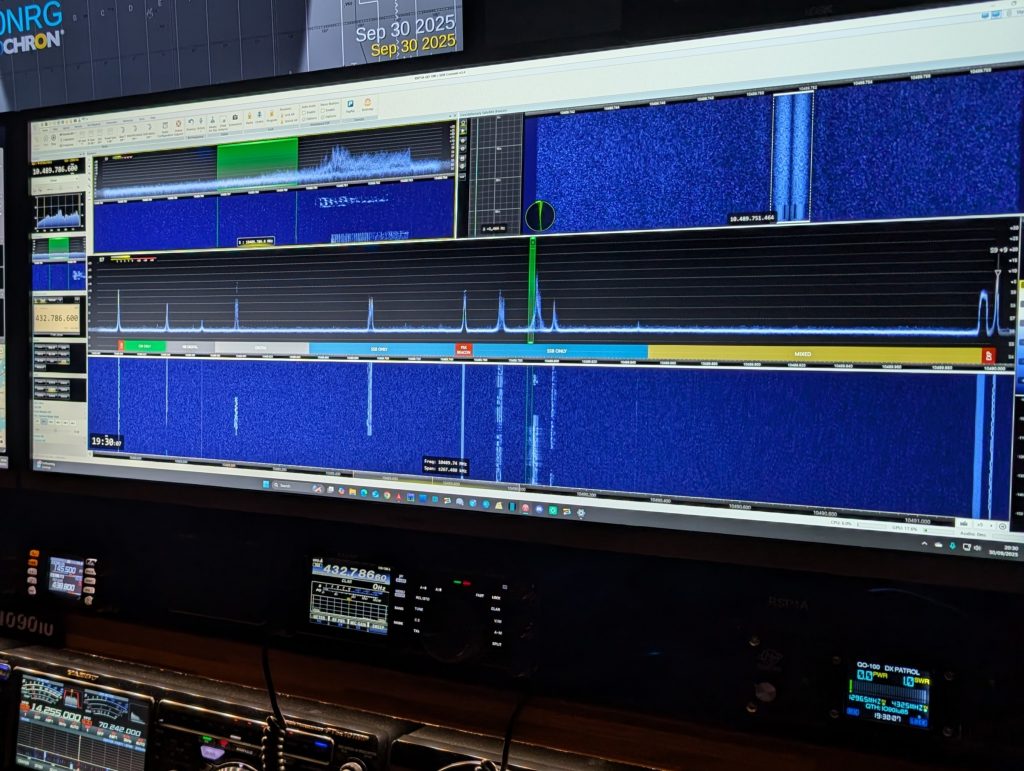
On returning home I started to research on what would be needed to work the satellite. There were a few different paths to achieving this, some involving SDR for both transmit and receive and others with SDR on the downlink and an Analogue Radio on the uplink. I chose the latter as I liked the idea of using an analogue radio and microphone.

SETUP

Kit List:
80cm Offset Dish
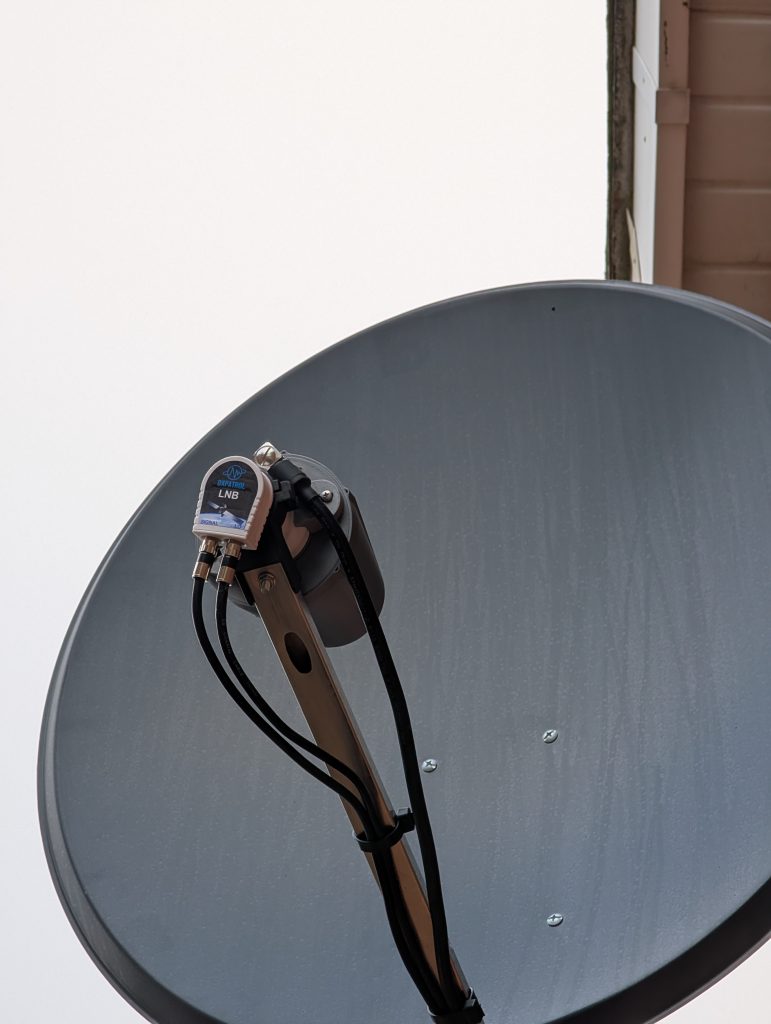
DXPatrol LNB
DXPatrol High Performance 4 turn Helix Antenna
DXPatrol GNSS Antenna
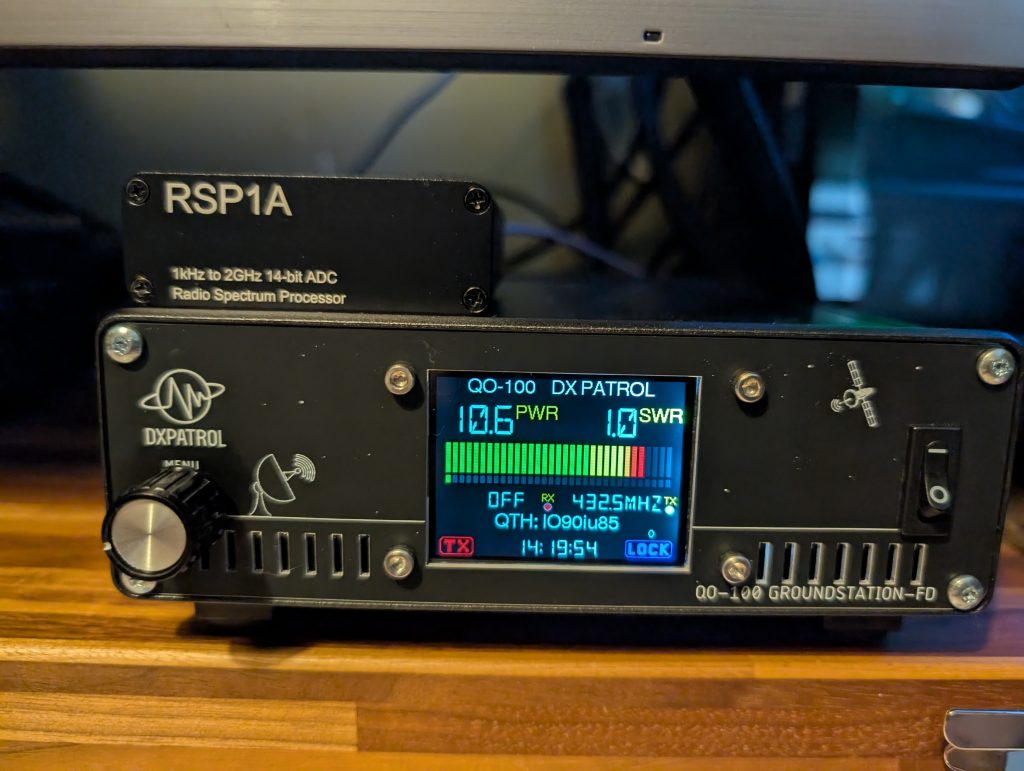
DXPatrol Full Duplex QO-100 Groundstation 2
SDR Play RSP1A
Yaesu FT991A
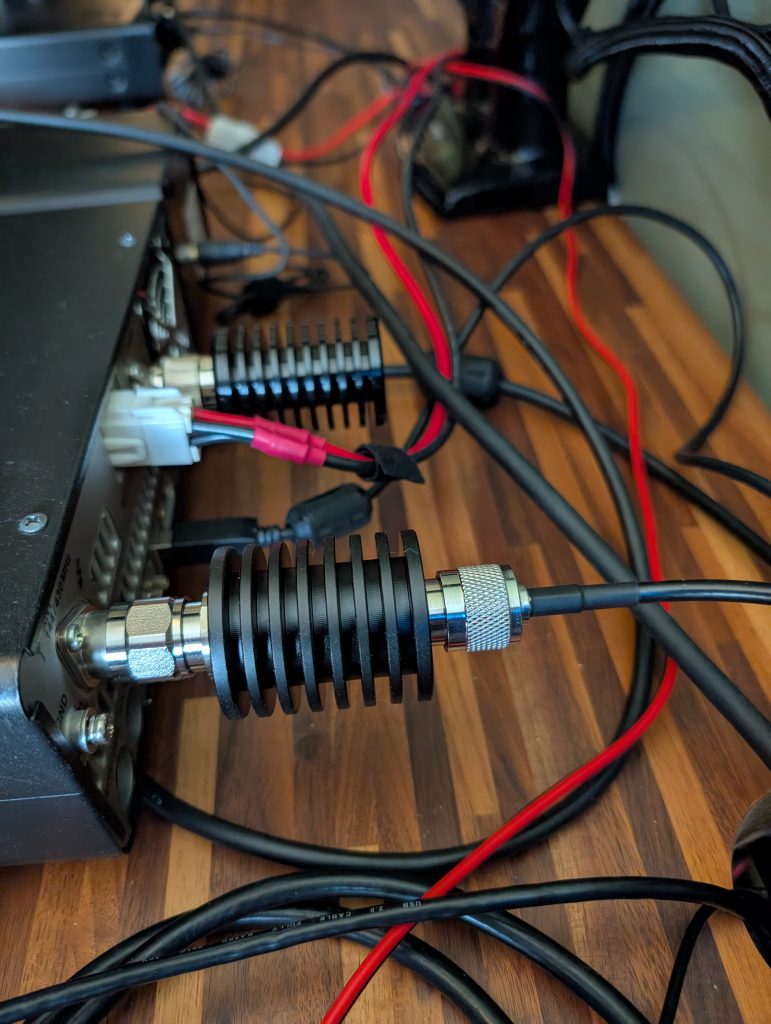
10dB 25W pad
Messi & Paoloni Ultraflex 10 coax for the uplink
2x 5m good quality 75 Ohm coaxial leads for the Signal and LO connection to the LNB
SDR Console by Simon Brown

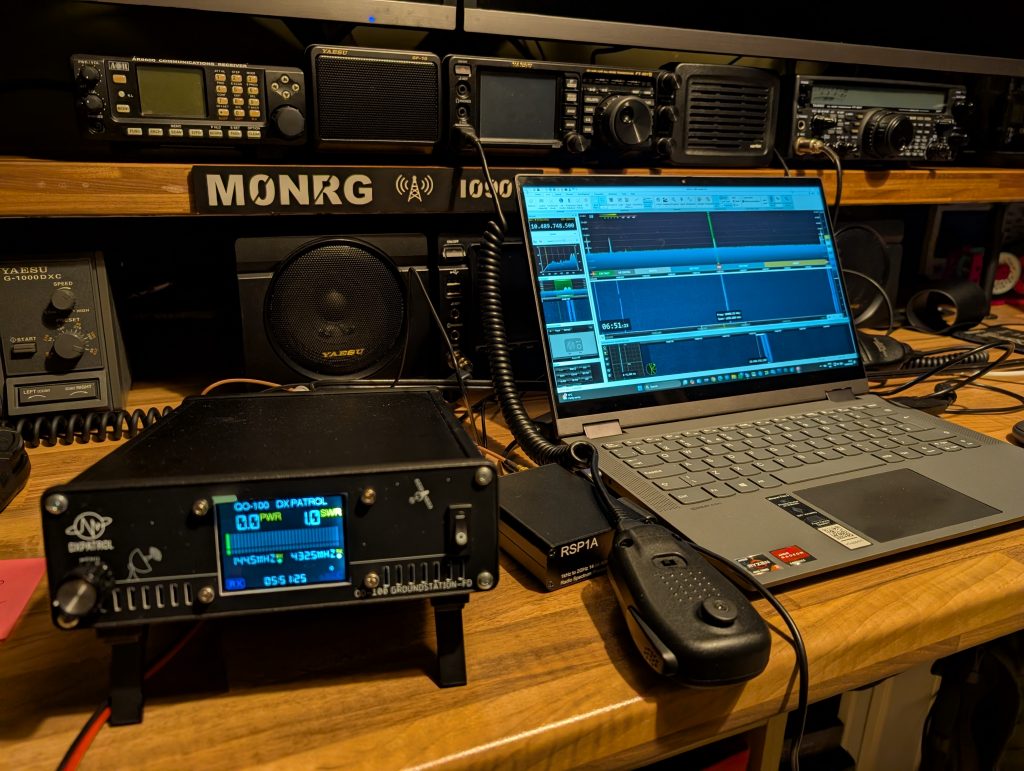
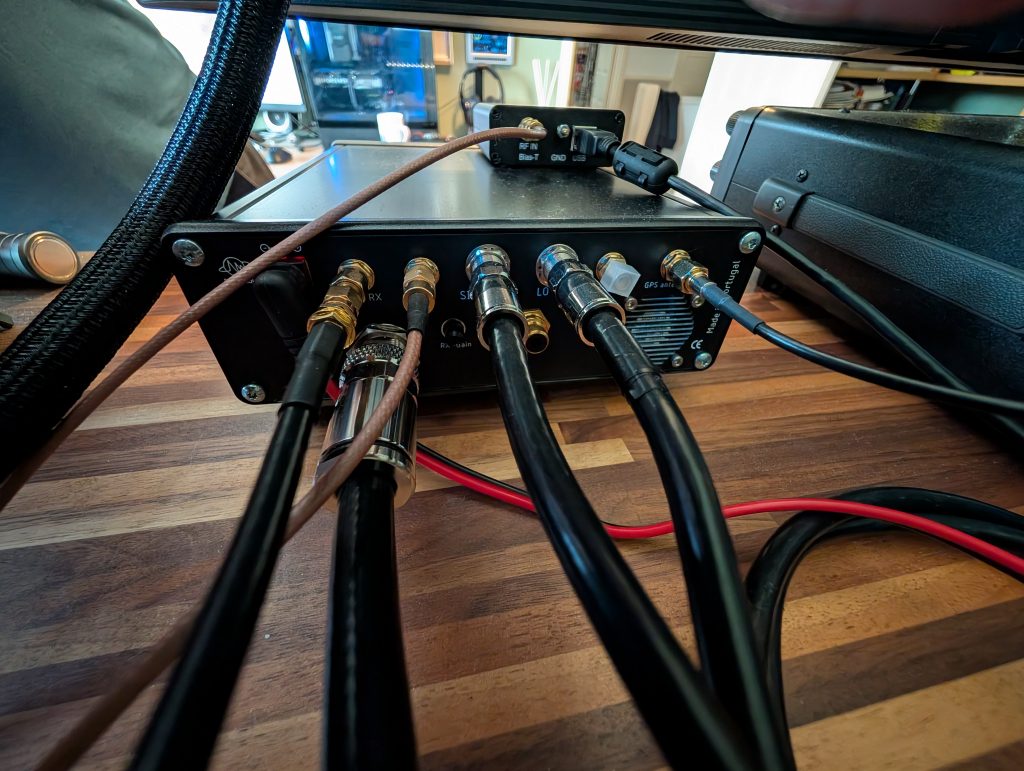
In a nutshell the DXPatrol Groundstation 2 consists of an Upconverter, Downconverter, Power Amplifier, GNSS module, the kit also comes supplied an LNB and GNSS Antenna. All you have to add is a means to transmit and receive and your good to go.

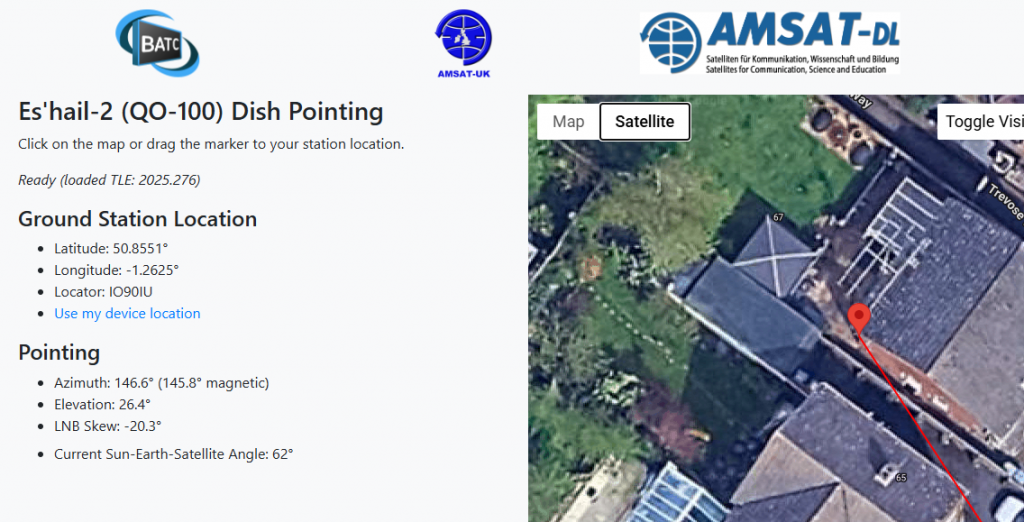
I decided to focus on the receive path first. I started off by setting up the dish on a tripod, this involved aligning the LNB skew and the elevation of the dish. For this I used the BATC dish pointing tool that can be found here

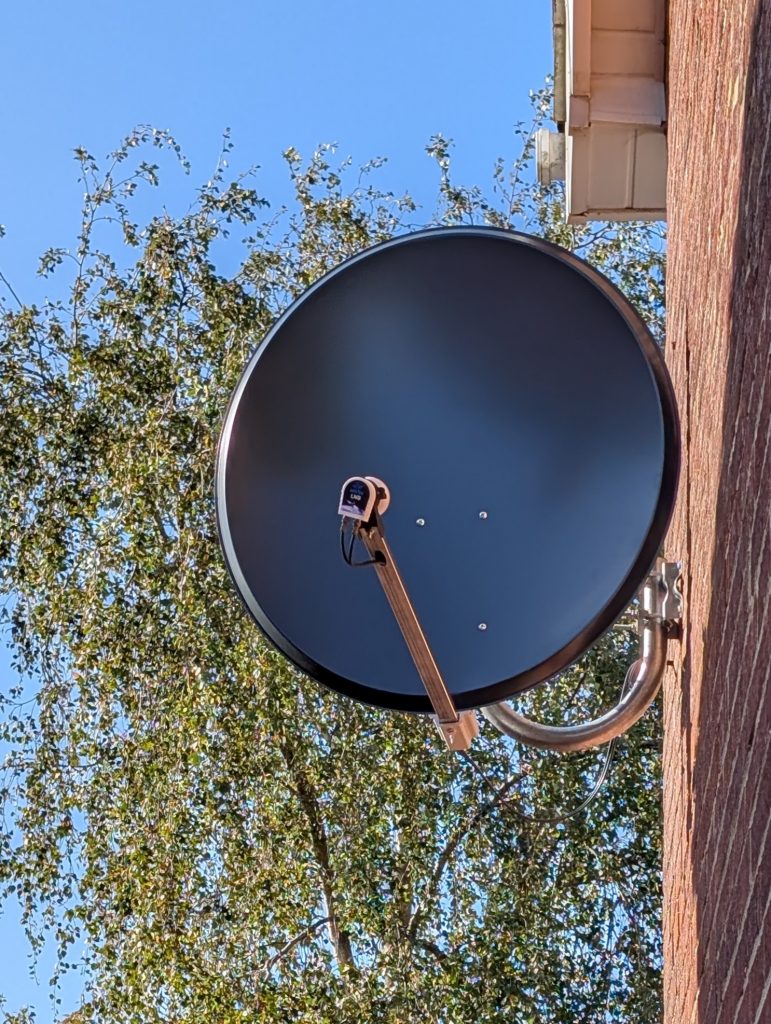
Once I had completed the skew and elevation it was time to mount the dish. To keep the cable runs to a minimum the dish needed to be installed on the side of the house with the shack being on the opposite side of the wall. I drilled the hole for the cabling from the shack side out which then dictated the mounting position of the dish.
I mounted the dish and initially set the azimuth using and app on my phone called DishPointer. I then fed the two 75 Ohm cables from the LNB (LO and Signal) through to the shack, these were connected to the DXPatrol Groundstation 2. Next the RSP1A SDR was connect via its (RF in) to the (RX out) of the Groundstation 2, the (RX out) on the groundstation 2 is for RX only to enable Full Duplex operation. The GNSS antenna was then connected to the Groundstation 2 and placed on the windowsill.
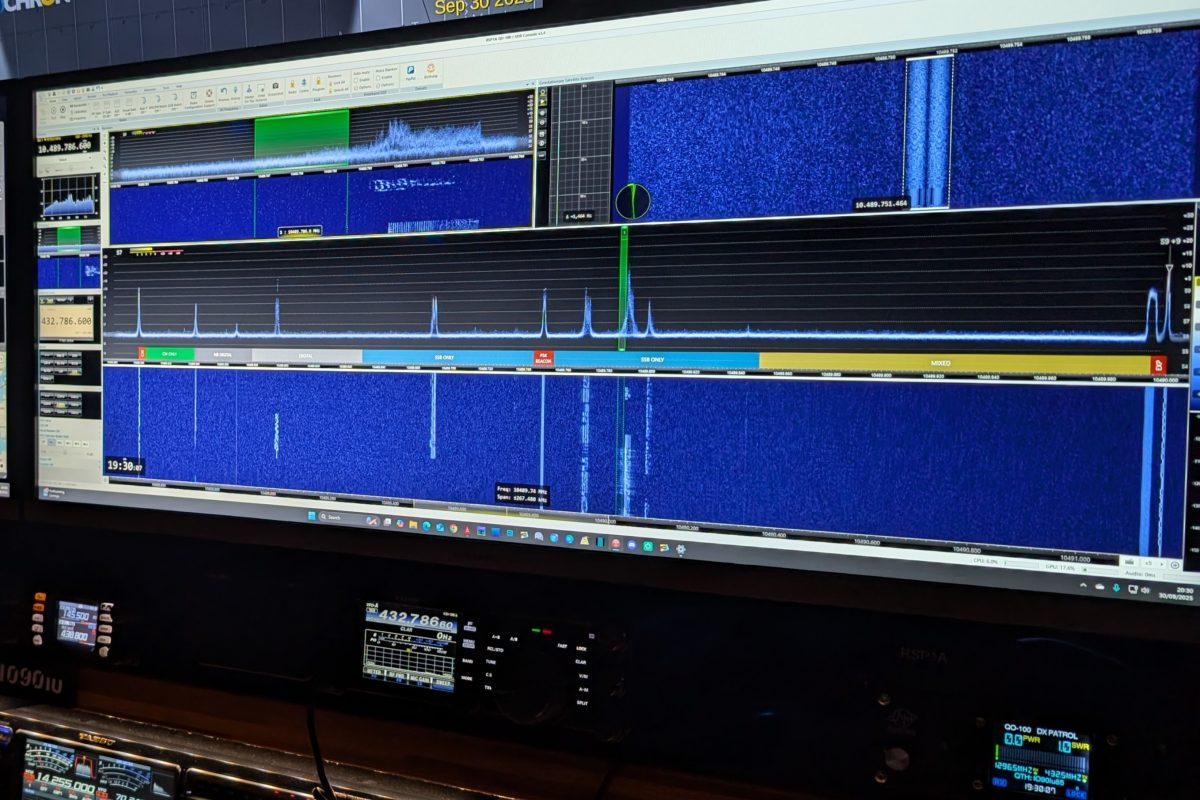
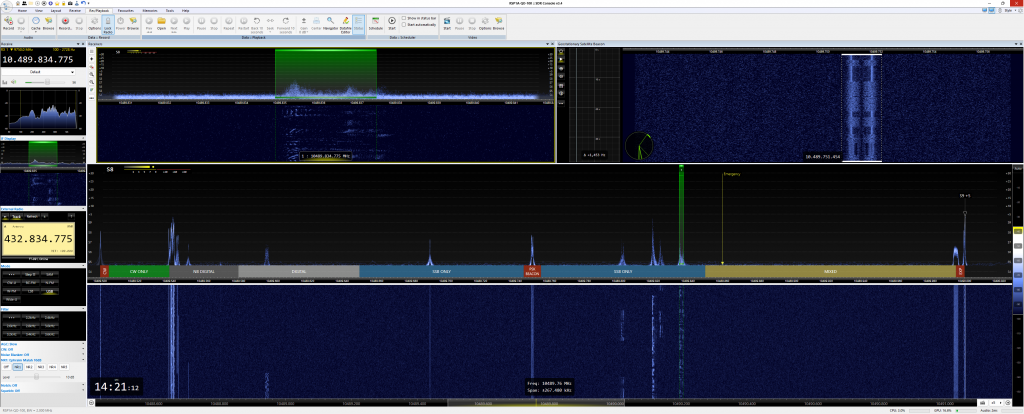
For this initial setup I connected the RSP1A SDR to a laptop running SDR Console and after configuring the software I tuned to the PSK Beacon on the satellite and used this to fine tune the elevation and azimuth of the dish. To do this I had to call on a friend to sit in the shack and call out the numbers whist I went up and down the ladder after each adjustment. We eventually achieved the maximum received levels at which point we called it a day due to dropping light levels.

A few days later I set about completing the final stage of the installation, the TX Uplink path. For this I had to attached the 4 Turn helix Antenna to the LNB, attach the feedline and feed this back into the shack.
Firstly I had to fit a right angle N-Type connector to the feedline for connection to the Helix Antenna. Once the connection was made to the antenna I then fed the feedline back into the shack and fitted the second N-Type which was then connected to the Groundstation 2. The only required configuring on the groundstation 2 was to set the Uplink band, for this I chose 70 cm.

For TX I initially used my old Yaesu FT847, this radio is slightly off frequency on SSB and takes a little while to warm up so I later swapped this out for my Yaesu FT991A. I connected the feedline from the Helix Antenna to the (RF Out) and the FT847 Antenna port to the (IF – RX/TX) TX Input and RX Output combined port on the Groundstation 2. In this setup I’m only using the combined (IF – RX/TX) for Transmission as Im using the separate (RX) port for the downlink enabling Full Duplex operation. The RX on the combined port can be switch off on the groundstation 2 turning it into a TX path only. The Yaesu FT847 allowed for a minimum RF output of 1 W which is the stated optimum drive for the Groundstation 2. When I swapped over to the Yaesu FT991A I had to place 25 W 10 dB pad between the radio and the Groundstaiton 2 as the Yaesu FT991A has a minimum RF Output of 5 Watts, therefore setting the the TX RF power to 10 W would achieve a 1 W drive to the Groundstation 2.

After some configuring of SDR Console (this would make for its own post) which included enabling frequencies above 9.999 GHz, setting up converter definitions for the uplink and downlink, synchronising with the telemetry beacon on the satellite and setting up the external radio using Omni-rig. I was now ready to make my first contact on QO-100 (18/09/2025).

My first QO-100 contact was with YO3IJ in Romania with a 5-9 report both ways. I then worked R3DPH in Russia and TA1D in Turkey.

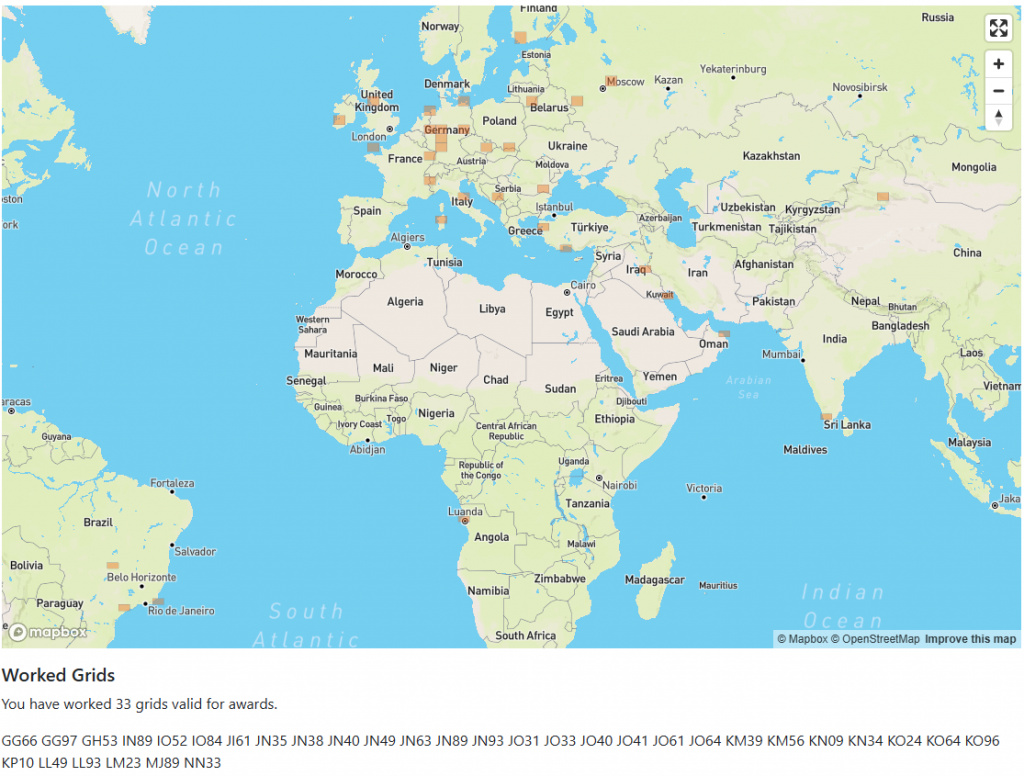
I joined the QO-100Dx Club which is devoted to QO-100 users. Apart from a wealth of information and news you can also upload your contacts which will give you access to your personal logbook, a map of your worked grids, a selection of statistics on your activity and any QO-100Dx Awards that you may qualify or be working towards. I’m not normally a grid chaser but in the case of QO-100 where there is essentially a definite number of grids to fill in the window of the satellite this may get addictive.