
I have recently been dabbling with 4m at home using my Yaesu FT101MP and a Sirio CX 4-68 vertical antenna, to use the Sirio I have to place it onto my drive-on mast in the garden and feed the coax through the window. I have also played 4m whilst out on some of our Ham Radio Socials with Sri 2E0LKA as the 4M net on a Sunday is one of his favourite nets.
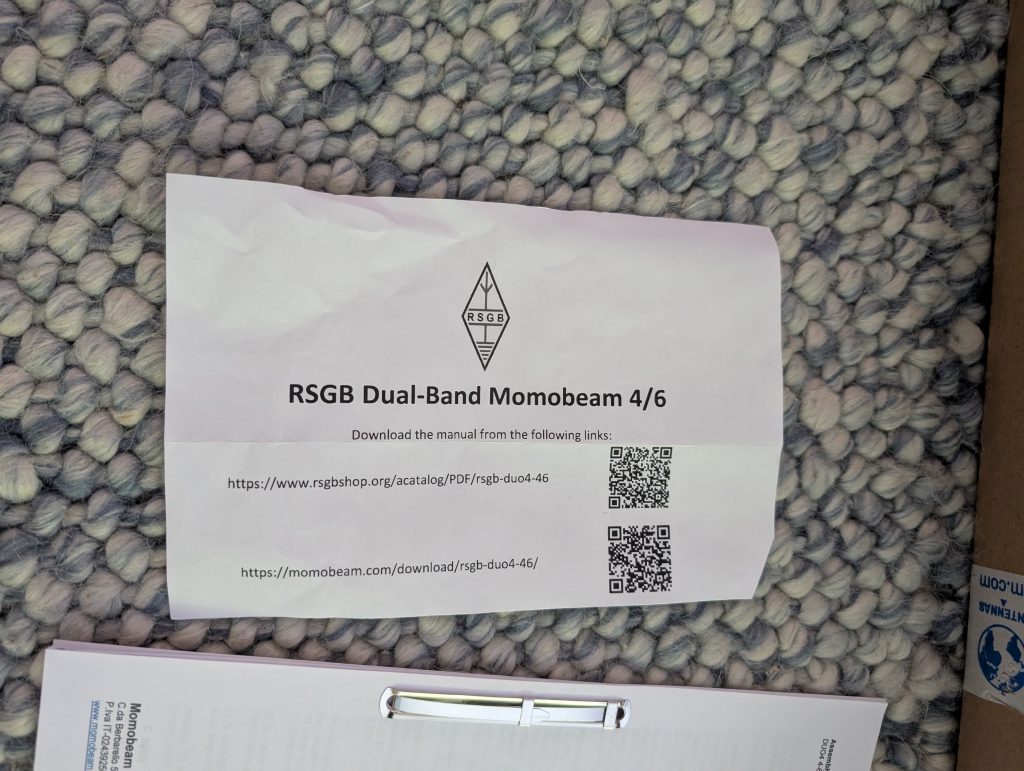
In Aprils version of RadCom (March) there was an article on the RSGB special purchase of the Momobeam 6m/4m dual band antenna, having limited space on my antenna mast I decided to give this low profile antenna a go.
I used to have a longer stub mast on the rotator which held a 3 element yagi for 6m, an MA5B for HF and a colinear for 2m and 70cm but due to heavy broadband adaptor QRM I took the 6m yagi down and reduced the size of the stub mast.
For this installation I did not want to replace the stub mast as that would have been a lot of work at that point if I then decided I didn’t want to leave the Momobean installed. I managed to get a separation distance of around 2.5m between the MA5B and the Momobeam.
A pre-order and a month and a bit later the antenna arrived.
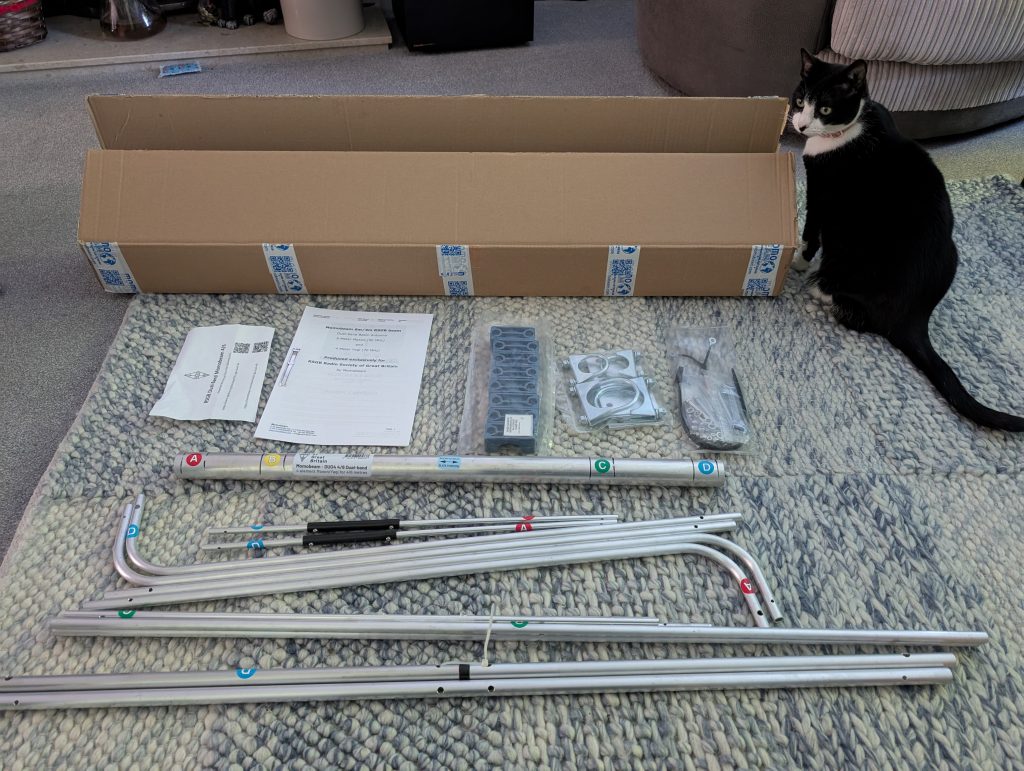
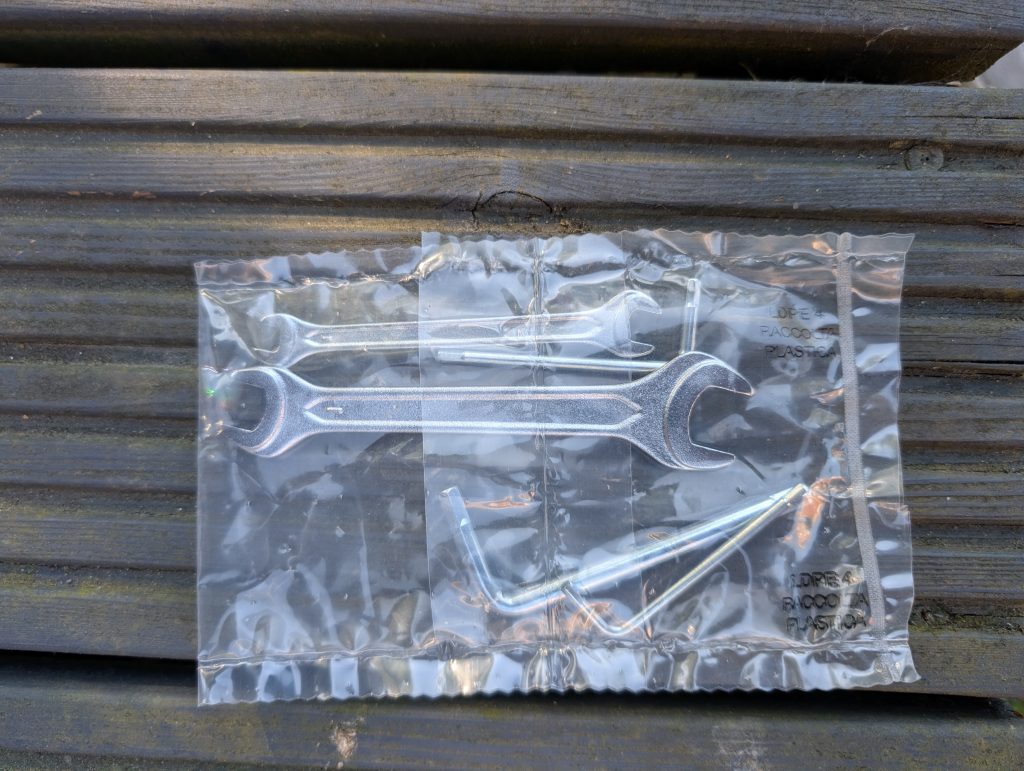
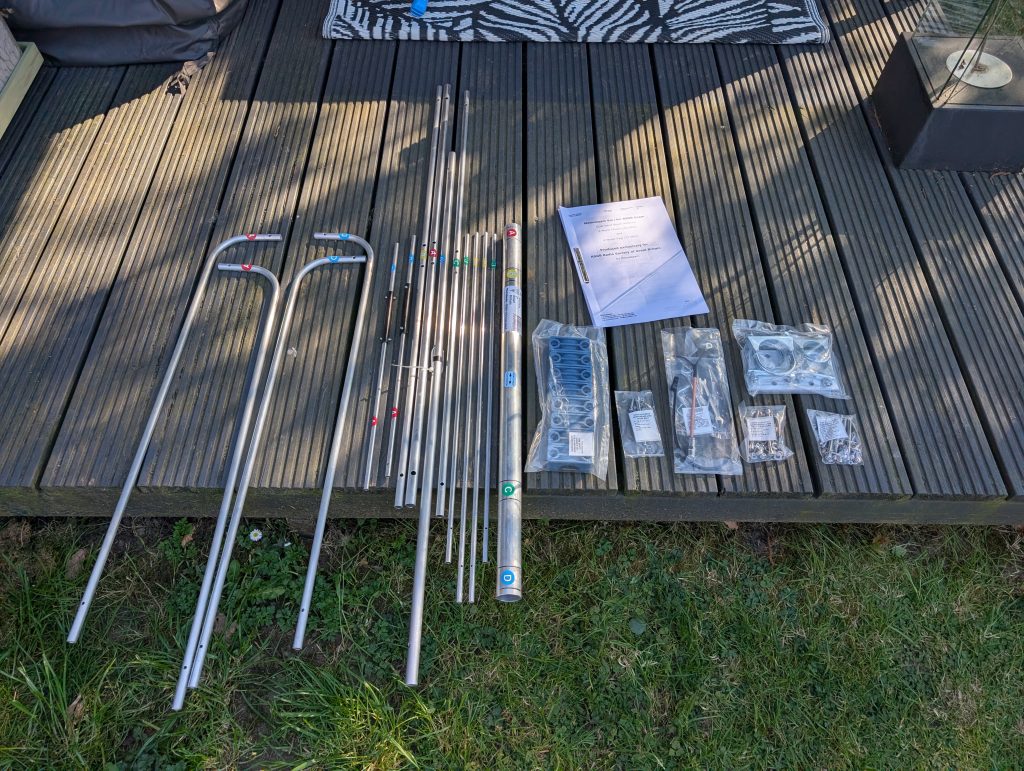
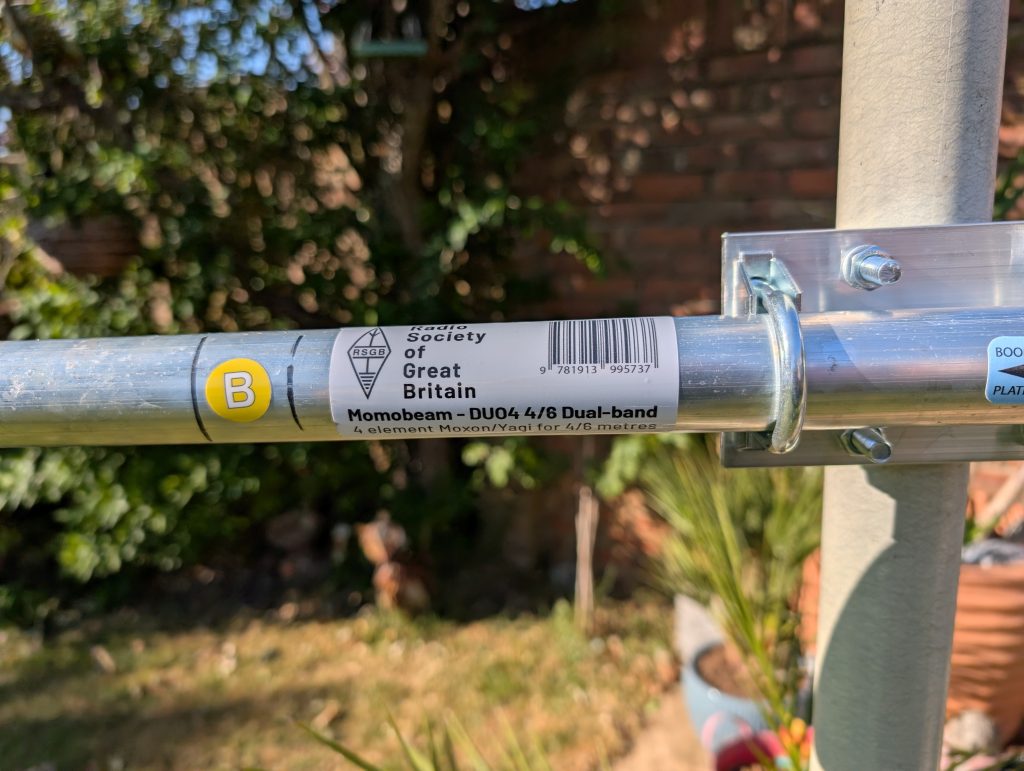
I initially took everything out of the box indoors to ensure that all of the parts were present and correct. To obtain the installation instructions I had to scan the supplied QR code, I then printed them off ready for the build. Each antenna part was clearly labelled as were each of the bags containing all of the required fixings and tools required to build the antenna.
I decided to build the antenna by attaching the boom to my drive-on mast in the back garden as having the antenna elevated aided in its construction and checking the VSWR after the build.
As with any build it pays to read the manual first before starting, failing to do so could quite easily lead to build problems. An example of this is the element clamps, some of these have been modified to seat the element on top of the clamp. Another example of this was the way that the smaller part of element was fixed to the larger outer part of the element, here a larger diameter hole was made on one side of the outer element allowing the hex bolt to sit directly on the inner element. When the nut was fitted and tightened to the other side of the outer element which created a very strong joining of the two elements with absolutely no play.
Once I had finished building the antenna I attached some coax and a RigExpert AA-230 Zoom to check the VSWR on both 4m and 6m. The profile looked as you would expect with a VSWR between 1.3:1 and 1.6:1 for 6m and between 1.3:1 and 2.0:1 for 4m. The profile changed once up on the mast most lightly due to interaction with other antennas and metal up on the mast with 4m still sitting between 1.3:1 and 2.0:1 and 6m sitting between 1.8:1 and 2.0:1.
The ATU on FT101MP does not work for 4m so this was were the antenna needed to have a good tune to make it usable. For 6m the ATU works and therefore the slightly higher VSWR wasn’t a problem.
The next job was to feed some coax into the attic and down into the shack. There is still QRM from internet adaptors on 6m and some evidence of this also on 4m. So far, only a couple of days and there hasn’t been any Sporadic E to talk about to enable the testing of the antenna in anger. There are some local 4m nets but most of the stations that participate are vertically polarised which equates to a lot lower signal strength to the norm on the Siro vertical.
Overall the antenna construction was pretty simple and the build quality of the antenna and parts very high. For the cost of the antenna and its low footprint its a good buy. I will report back on its performance as and when time and conditions allow.
Good Read Nigel, looks like a good antenna and a good build. Look forward to hearing how it performs going forwards!